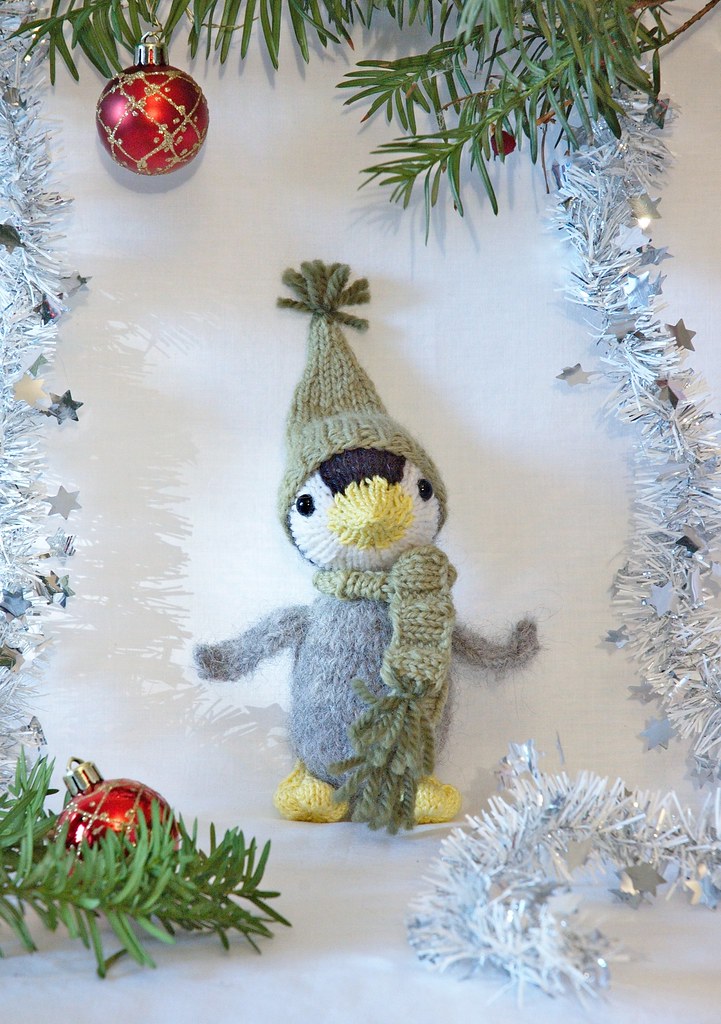
In the end, I decided on making the Eskimo, or Inuk, and a baby seal (which was suggested by Mr. Mitten when I couldn't get the merry wombat to turn out right). Below you'll find the instructions for both, with the abbreviations following, if you're unfamiliar with some of the terms. I hope to get the pattern published as a PDF as soon as Mr. Mitten has time to help.

I've tried to design these toys to be simple and fast, so you can make a set in an evening. I've designed them in worsted weight yarn because I always have lots around, but you can easily knit them in a different weight with appropriate sized needles. (Note: changing to finer yarn will make the toys appear slimmer, changing to thicker yarn will make the toys appear plumper). The pattern is advanced beginner to intermediate level, and you will need to know how to knit, purl, increase, decrease, change yarns, make bobbles, work I-cord, and sew seams. However, these all make the toys fun and interesting to knit, and small toys are a great way to learn new skills!
Materials
Inuk: 15 g of worsted weight yarn in main colour (MC), 5 g of worsted weight yarn in light brown, 5 g of worsted weight yarn in black, 5 g of fuzzy or eyelash yarn, pair of 4 mm (US size 6) knitting needles, two 4 mm double pointed needles, pair of 6 mm safety eyes, stuffing, length of ribbon or cord for hanging, tapestry needle
Baby Seal: 15 g of worsted weight yarn in cream, black yarn to embroider face, pair of 4 mm (US size 6) knitting needles, pair of 6 mm safety eyes, stuffing, length of ribbon or cord for hanging, tapestry needle
Gauge: 4.5 sts per 2.5 cm (1 inch) in stockinette
Size: 7.5 cm (3 inches)
Inuk
CO 9 sts with MC.
Row 1: P 1 row.
Row 2: k2, [m1, k1] x 7. (16 sts)
Row 3: P 1 row.
Row 4: k2, [m1, k2] x 7. (23 sts)
Row 5: P 1 row.
Switch to fuzzy yarn on next row.
Row 6: k2, [m1, k3] x 7. (30 sts)
Row 7-9: K 3 rows.
Switch back to MC yarn on next row.
Row 10-11: Beginning with a k row, work 2 rows in st st.
Row 12: k3, [k2tog, k4] x 2, [k4, ssk] x 2, k3. (26 sts)
Row 13: P 1 row.
Row 14: k3, [k2tog, k3] x 2, [k3, ssk] x 2, k3. (22 sts)
Row 15: P 1 row.
Row 16: k6, mb, k8, mb, k6.
Row 17: P 1 row.
On next row, switch to light brown yarn.
Row 18: k5, k2tog, k8, ssk, k5. (20 sts)
Row 19-21: Work 3 rows in st st.
On next row, switch to black yarn.
Row 22-23: Work 2 rows in st st.
Row 24: k1, [k1, k2tog] x 6, k1. (14 sts)
Row 25: P 1 row.
Row 26: k1, [k2tog] 6 times, k1. (8 sts)
Cut yarn leaving a long end, thread end through remaining stitches and pull tight to gather.
Attach safety eyes. Sew back seam down to garter-stitch section. Stuff body. Thread yarn through cast-on stitches, gather, then sew last bit of seam. Weave in yarn ends. You may need to make a couple small stitches around bobble arms to close any holes. Embroider a face and hands. For a girl, add braids for hair. These embellishments can be as simple or as creative as you like.
Hood
Start at front. CO 16 sts with fuzzy yarn.
Row 1-3: Knit 3 rows in garter stitch.
On next row, switch to MC yarn.
Row 4-5: Beginning with a k row, work 2 rows in st st.
Row 6: k5, k2tog, k2, ssk, k5. (14 sts)
Row 7: P 1 row.
Row 8: k4, k2tog, k2, ssk, k4. (12 sts)
Row 9: P 1 row.
Row 10: k3, k2tog, k2, ssk, k3. (10 sts) Bind off, or graft back of hood together. If you bound-off, sew a vertical seam at the back of the hood. Weave in yarn ends. Sew bottom edge of hood to toy, just below the neck. If you are hanging the toy, thread the ribbon or cord through the top of the hood, and tie a knot.
Legs (make 2)
CO 5 sts with MC yarn onto one double pointed needle. Work I-cord for 4 rounds. Bind off. Sew the bound-off edge of legs to bottom of Inuk. Weave in all yarn ends.

Baby Seal
Start at tail. CO 6 sts with cream yarn.
Row 1: P 1 row.
Row 2: k2, [m1, k1] x 4. (10 sts)
Row 3-5: work 3 rows in st st.
Row 6: k2, [m1, k2] x 4. (14 sts)
Row 7: P 1 row.
Row 8: k2, [m1, k2] x 6. (20 sts)
Row 9-13: work 5 rows in st st.
Row 14: k9, m1, k2, m1, k9. (22 sts)
Row 15: P 1 row.
Row 16: k1, k2tog, k7, m1, k2, m1, k7, ssk, k1.
Row 17: P 1 row.
Row 18: [k1, k2tog] x 3, k4, [ssk, k1] x 3. (16 sts)
Row 19-23: work 5 rows in st st.
Row 24: k1, [k2tog] x 3, k2, [ssk] x 3, k1. (10 sts)
Row 25: P 1 row.
Cut yarn leaving a long end, thread end through remaining stitches and pull tight to gather. This is the nose end. Insert safety eyes on head. Sew up seam along underside of body, leaving an opening. Stuff and sew closed. Most of the head shaping is done with the stuffing, adding extra bits to the cheeks and nose. You can also try some soft sculpture for more definition (although baby seals are really cute cute fuzzy blobs!) If you are hanging the toy, thread the ribbon or cord through the back of the neck, and tie a knot.
Flippers (make 4)
CO 8 sts.
Row 1: k6, k2tog. (7 sts)
Row 2: K 1 row.
Row 3: k5, k2tog. (6 sts)
Row 4: K 1 row.
Row 5: k4, k2tog. (5 sts)
Bind off. Fold in half lengthwise and sew together short straight edge.
Sew 2 flippers to tail, with decreased edges facing out, and cast-on edges facing toward the head. Sew other 2 flippers to sides of body near the head, in the same orientation as the tail. Weave in yarn ends.

Abbreviations
[ ] x N = repeat sequence in brackets N times ("to end" means to repeat until the end of the row)
CO = cast on
K or k = knit
k2tog = decrease 1 by knitting 2 together
k3tog = knit 3 together, same technique as k2tog
kfbf = increase 2 by knitting into front, then back, then front of next stitch
m1 = increase 1 by picking up loop between stitch just worked and next stitch, and knit into the back of this loop
mb = make bobble: kfbf, turn, p3, turn, k3, turn, p3, turn, k3tog. You should start and end with 1 st. (there are many ways to make bobbles. If you need help, search for a tutorial that makes sense to you)
P or p = purl
p2tog = decrease 1 by purling 2 stitches together
ssk = decrease 1 by slipping 2 stitches as if to purl, transfer slipped stitches back to left needle, then knit slipped sts together
st or sts = stitch or stitches
st st = stocking stitch