I know I must have said it here a few times before, that my little toys are great practice for seaming knitted items. I've done so many now that sewing seams is just a small step to finishing them. However, I know many knitters dislike seaming, or even hate it (I even saw a Ravelry group for knitters who hate seaming)! So I've put together a set of steps that should help you convert most of my toy patterns to be knit in the round.
1. The first step would be your choice of dpns (double pointed needles) or circular needle. Since all the body parts have different numbers of stitches, and some people prefer sets of 4 or 5 needles, I will have to leave it up to you to decide how to divide the stitches between the dpns. However you divide them, you will sometimes have to shuffle stitches between the needles, because the increases and decreases are not evenly spaced around the body parts. As for a circular needle, if you haven't tried the
magic loop method, this would be a great time to learn! It's especially useful for knitting things with small numbers of stitches, like toy arms and legs.
2. The next step is fairly simple: convert purl stitches to knit stitches, and every time you see 'P 1 row' you want to work that as a knit round. Also, on the small toy feet, you will need to change one row:
After: k8, [skpo] twice, [k2tog] twice, k8.
Work: k6, [skpo] twice, [k2tog] twice, k6.
3. Lastly, you will need to stuff (and attach safety eyes) before knitting the last few rows of each piece and closing them up. Except for the body, which has a large opening at the neck.
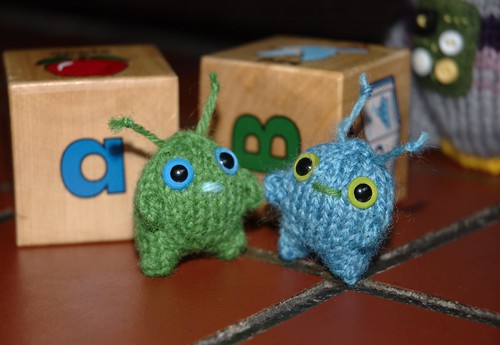
There are a few things that will be different when you knit my toys in the round. First, because all the body parts have an extra stitch along each edge, which are usually taken up within the seam, body parts knit in the round will be 2 stitches fatter.
Second, working intarsia colour changes in the round is rather tricky, although I know it can be
done. This makes some of the toys more challenging, such as the puppy or monkey. You can try working the intarsia in the round for these toys, or just knit the heads flat, and the rest of the toy in the round.
Third, many of the clothing patterns are knit flat with seams. Because they are so different from the toys, and each other, it would make this post much too long and confusing to include them here.
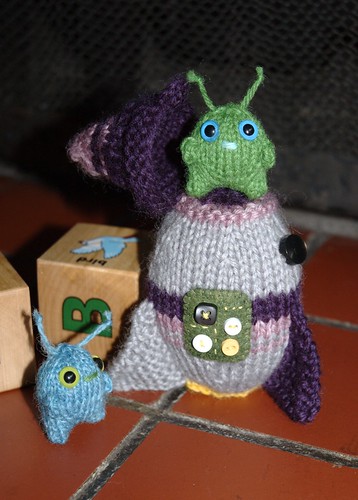
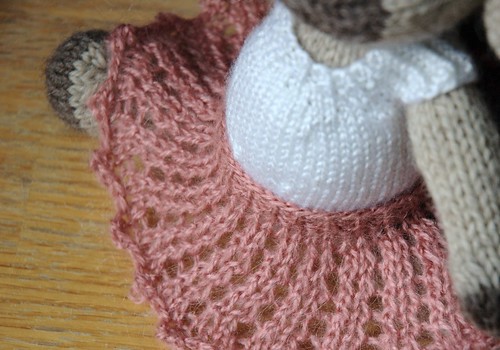 one of the clothing patterns that is knit in the round
I've tried to make this post quite simple and general, so it will apply to as many of my patterns as possible. If you are working on a particular pattern, and find a spot where you need some advice or help, we can start a discussion over on
Ravelry. This way everyone has access to my tips or other's suggestions for converting to the round. (if you don't belong to Ravelry, feel free to email me for advice too)

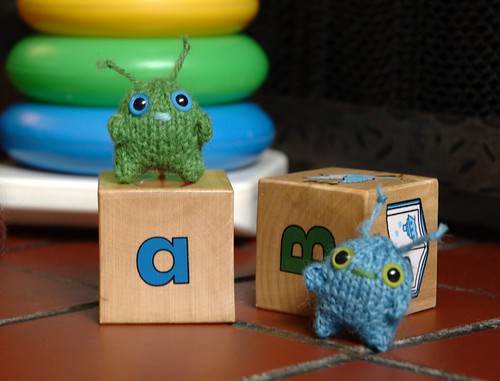
 Gilda - also has a yellow knit vest
 Callum
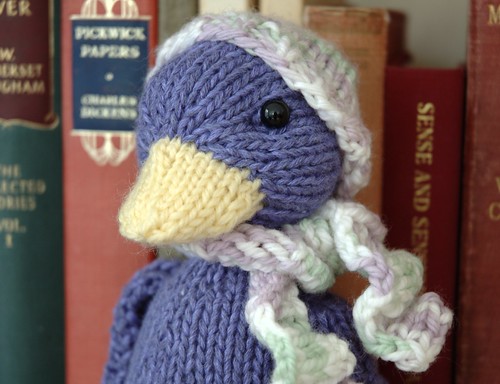
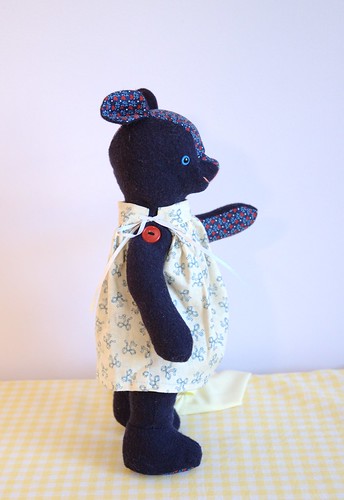 Betsy
Betsy