My grandma, Dorothy Mitchell, passed away on March 30, after her fight against cancer. She told me once that she wanted to make it to 100, and she was so tough I really thought she could, but she missed her 95th birthday by several weeks. The quarantine meant that the only family who could be with her at the end was my mother (her oldest daughter). Family was always so important to my grandma, it breaks my heart that they could not surround her with their love and care in those last few weeks. I had meant to visit her in June, and now I can never see her again.

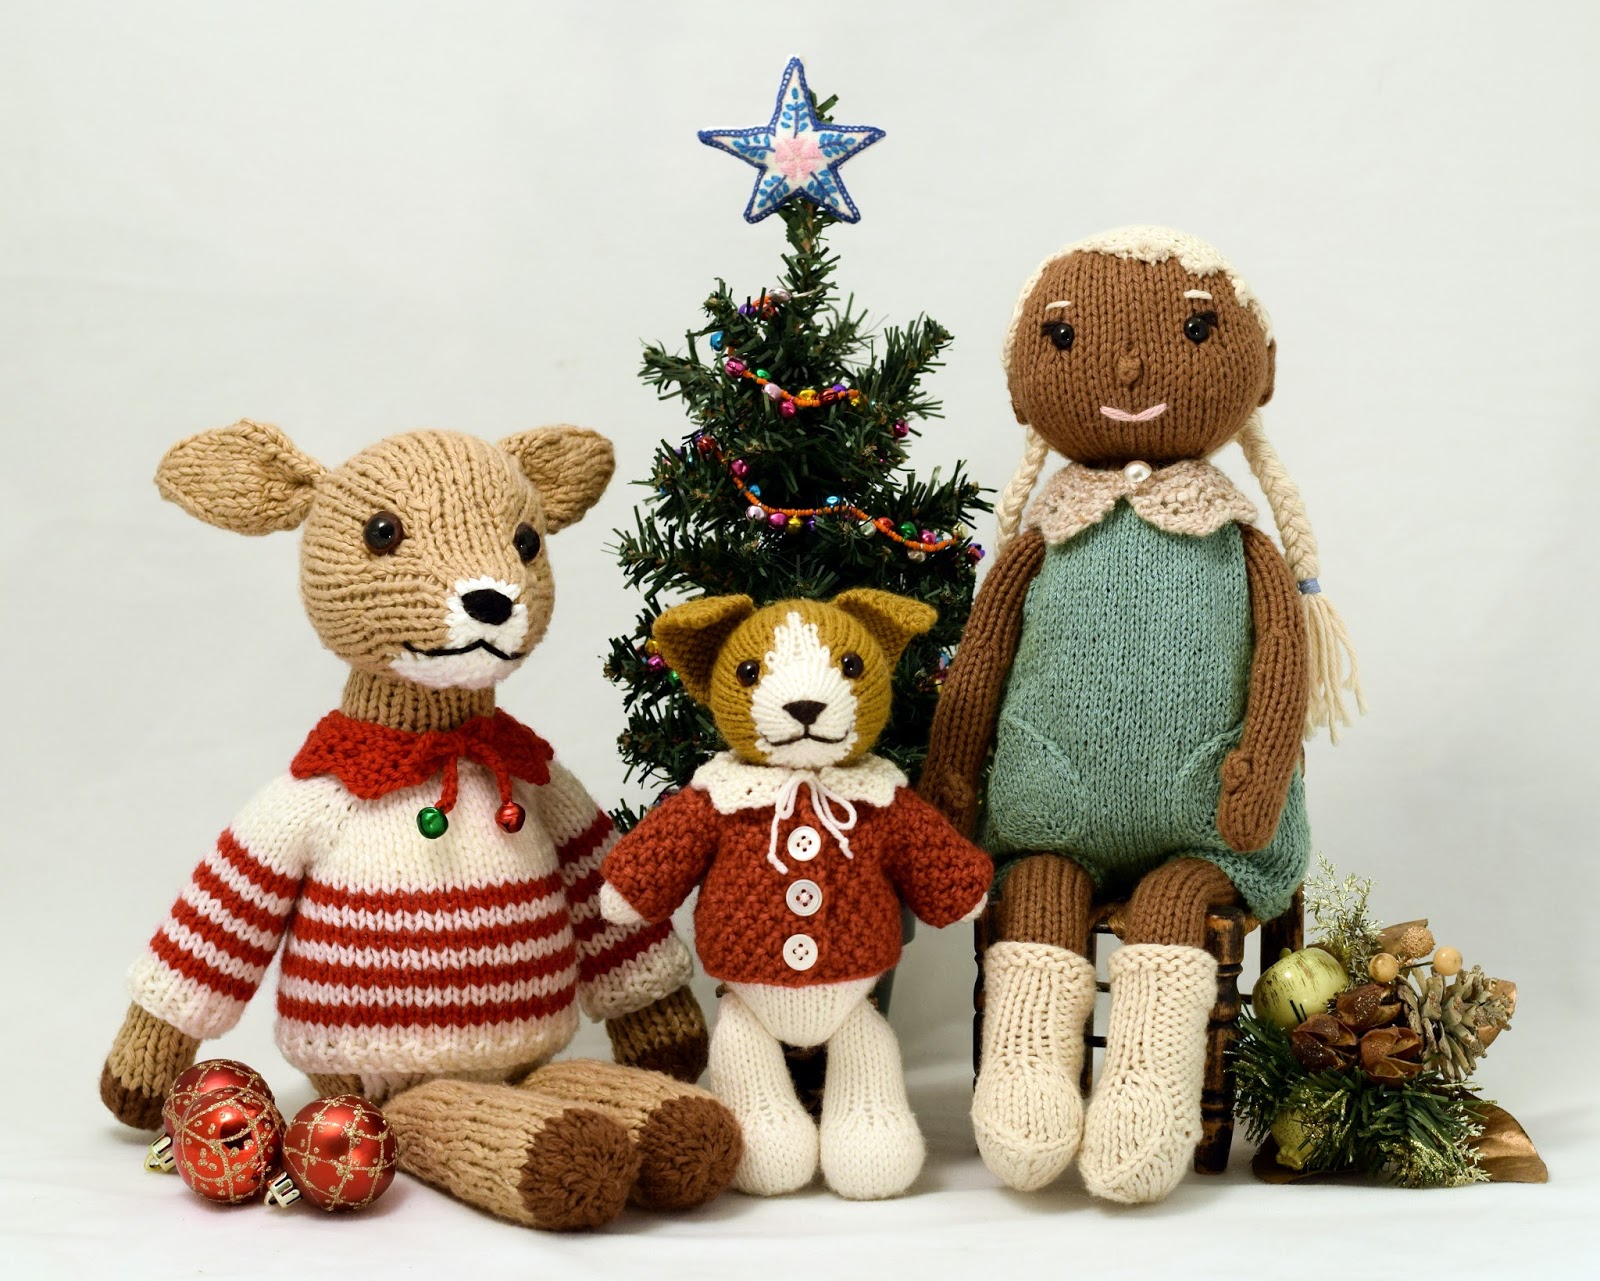
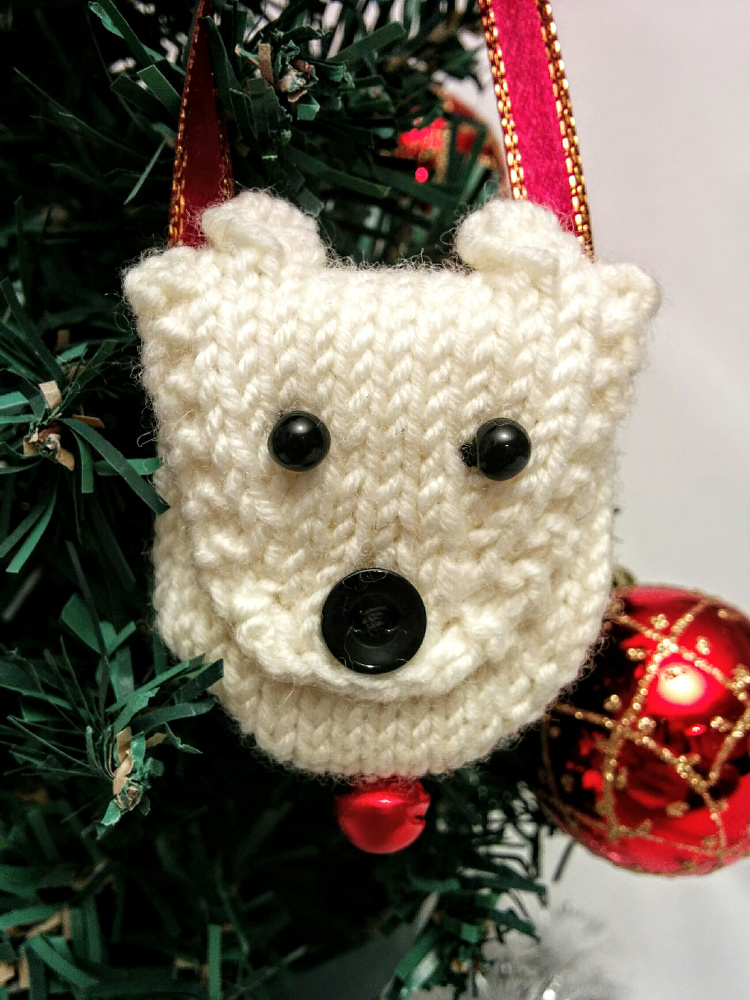
I have so many memories of my grandma, though. She was a quiet person, perhaps a bit shy (like me). She loved to garden, and read, and cook. She especially loved to make things, and when younger had worked as a home-economics teacher. She was accomplished at sewing clothes and all sorts of other useful things, giving them to family and friends, or selling them at church sales. She made quilts for her grand- and great-grand-children. I still have the two she made me when I was a child, tattered and well-loved after so many years. She was also very good at knitting and crochet, and the toys she made me were some of my favourites (perhaps inspiration for my future career?) I loved her drawings too. They were sweet and full of character, and much better than I think she gave herself credit for.

The house seemed so large too, when I was young (my mom is one of six siblings, so they needed the space growing up). My favourite place was the "breakfast room" just behind the kitchen. It seemed to be always sunny, and was where my grandma kept all her sewing and craft supplies. There was a bench around the table there, and inside the benches were all sorts of things we could use to make whatever we could imagine. We stuck everything together with flour-paste we'd mix up in old plastic mugs. I have so many memories of the big front room too, which was both dining and living room. There was a large table at one end, to seat as much family as possible. Family dinners were usually some sort of roasted meat, with plenty of garden vegetables and salads, followed up by chocolate cake or cookies. At the other end of the room there was variety of chairs and a sofa facing the fireplace, perfect for the adults to sit around and chat after family dinners. The kids loved picking through the basket of wind-up toys, getting as many going at once as we could. Around the walls were paintings and knickknacks, made by family or passed down from previous generations.
I wish I could have known her better, but when I was a child, she was my grandma: a figure to respect and admire, who would always care for me, and sometimes scold me when I deserved it. I never moved back home after I left at 19, so my opportunities to know her as an adult were few. I would talk with her when I was home about the things we both enjoyed, and hear stories from other family members. I think perhaps I am a lot like her in some ways, although our lives are very different. She will always be a part of me, and I will do my best to keep my memories of her sharp and bright and full of love.
P.S. I want to add more photos here, but don't have any. Sometimes you forget to take photos of the things you think will always be around.
*We, in the above story, refers to myself and my siblings