Showing posts with label sewing. Show all posts

Tuesday, December 24, 2013

holiday crafting

While it's been nearly a month since my last post, and very quiet here, I've been super busy (as I'm sure many people are at this time of year)! The big project I've been working on can't be shared yet, but I've been knitting and sewing some other things in my spare time. Here's a little selection to inspire you, if you find your fingers need something to do over the holidays.


I knit this cardigan for my little niece, from this pattern. She's only 4 months old, so I scaled down the pattern by using DK weight yarn instead of worsted weight. It was easy and fun to knit, and I wish I had time to make more for my boys!


This beret was knit in just 2 days, because I had such a short deadline between the party invite and my friend's birthday. The hat turned out so well, I might knit another for myself.


The mini pookies I made for the pattern samples ended up on the tree in my boys' room. They were joined by some other soft and cute ornaments from my collection. For some reason, Kyr calls them all "piggies" so I knit a piggy one just for him (I just used pink for the head, and folded the fox ears).


I've also done a bit of sewing. The boys' stockings (on the right) I made last year. This year I found time to sew one for my husband and myself. I didn't use any pattern or tutorial for these, just making it up as I went along. I wanted to use up some of the scraps I had left from other projects, to make stockings that would suit each one of us, but still look like a set.


These matching pyjama pants I made for my boys from a piece of flannel that's been in my fabric stash forever. My method was very similar to this tutorial. If you've done a bit of sewing, this is such a rewarding project!

As a Christmas gift, I have a recipe to share with you tomorrow, something perfect for cold, busy winter days!

Friday, September 27, 2013

adventurous projects

In between designing and knitting toys, sewing and knitting for myself, and doing all the other things a mother of two little boys must do, I find a little time to make some special things for my boys. The last project was linen shirts for each, but the weather is now definitely Autumnal, and it was time for something more seasonal.

For many months now, one of my boys' favourite cartoons has been Adventure Time. They both enjoy the heroics, silly songs, and memorable characters. (I also enjoy the messages of helping and friendship, and appreciate that my kids voluntarily skip the scarier episodes). Lev's favourite character from the show is Finn, and a new, plain black hoodie for school seemed like the perfect opportunity to make Lev a little something special. I made this patch from white cotton fleece and peach-coloured felt, hand-stitched together, then onto the hoodie. It helped that Finn's face is quite simple and recognizable, as my embroidery skills are not great. Anyway, we both love how it turned out, and Lev wants to wear it almost every day.


Of course, when Kyr realized I was making something for Lev, he wanted something too (in fact, he made great big puppy eyes at me and started crying when he realized the hoodie wasn't for him). He didn't have a convenient plain sweater or shirt to embellish, and for a few days I was stumped on what to make for him. Then the weather turned a bit cooler, I pulled out his Fall hat one morning, and realized it was nearly too small. My choice of project was clear. Kyr's favourite Adventure Time character, by far, is Jake the Dog (he actually calls it the "Jake-Finn" show). Luckily, I had 50 g of yarn left-over from a vest I'd knit Kyr a couple winters ago, in the perfect Jake colour. After a couple false starts, trying to sort out gauge and the brim style I wanted, I managed to knit a plain stockinette cap in just 2 evenings. Once I knew the fit was right, I added little floppy ears. However, it still wasn't recognizable as Jake, so I decided to add eyes and a nose with fleece patches. The finished hat is probably one of my most favourite projects, and Kyr loves it too!


Thursday, July 18, 2013

sewing for my boys

I remember, when I was quite little, wearing clothes my Mom had made for me. I'm not sure how she found the time, with four of us so close in age. (She also knit us sweaters and things. I think she didn't sleep much when I was small). Those hand-made things were always a little more special, although I think they were worn by too many cousins to last until my boys were born.

I also made things for my boys when they were babies. Rompers, sweaters, hats, mittens, and scarves. I don't remember if I shared many of those projects. I don't even know if I have photos of some of them. Anyway, at that age, you can't really tell if they prefer the things you make for them. But now, my boys are old enough to ask for things, and tell me how much they love them!


The shirts in these photos are made from  McCall's M6540. I haven't seen many sewing patterns for boys, and most are pretty basic, or overly fussy. I really liked how this pattern had a simple shirt with a yoke but no collar, and pockets (which are necessary for my kids). And the shorts are super cute (I have a pair cut out of corduroy for Lev, just waiting for some cooler weather for me to sew them up). The dress patterns in this set are nice too, and you certainly don't need to add all those ruffles. A friend of mine, just learning to sew, made one without any trouble.


I decided to make the yoke and pockets of each shirt from some quilting cotton: orange for Lev (his favourite colour), and some pirate ships for Kyr. I faced the yokes with plain white cotton. The other fabric is a nice cotton/linen blend that I used to make a shirt for their Dad. These shirts came together very quickly, maybe 4-5 hours, including cutting out (I'm not really sure, since they were both made over a few days). In the pattern, the pockets are on the chest, with flaps, which didn't seem practical. So I moved them to the lower front, and left off the flaps. As you can see, I made them a little big, so they would fit longer. I think they will also be nice over a long-sleeve t-shirt in the winter.


(I've also made them hats like the one from this pattern. It's a great sun hat, fits most head shapes, and you can make one from 2 fat quarters)

I'm not sure how much longer Lev will be happy to wear things I sew, but I'm so happy he loves this shirt. And I'll certainly get a few more years out of Kyr, before I have to go back to sewing just for myself!


Wednesday, April 3, 2013

fabric dress tutorial

In the past I've made simple fabric dresses for some of my toys, because I love to sew, and I like the combination of materials. I've put together this tutorial to show how I make them, in case any of you love to sew as well. This dress will fit any of my 8-9" tall toys.

If you have any questions, please leave a comment and I will update this post to address them. If you're having trouble seeing details in the photos, clicking on one should open the full-size version.

Materials: 12" x 6" of quilting weight cotton fabric, 10" length of 3/8" wide elastic, all-purpose thread to match your fabric.
Tools: a sewing machine, scissors, ruler, straight pins, iron, bodkin or safety pin, pencil or chalk to mark fabric.

Notes: While this tutorial is fairly simple, you will need basic machine sewing skills. Ironing and clipping threads between steps will make for a nicer finished garment. Always back-stitch at the beginning and end of straight seams to secure the thread.

Step 1: cut your piece of fabric into two 6" x 6" squares.

Step 2: Mark which edge will be the top. Mark the sides, 4" up from the bottom. Make sure you mark both pieces of fabric.

Step 3: Zig-zag around all four sides of each piece, separately, in order to finish the edges. Then place the two pieces with right sides facing each other, and match up the marks you made in Step 2. Pin the sides together.

Step 4: Sew a 3/8" wide seam along one side, from the bottom up to your mark. Repeat for the other side.

Step 5: Press the seams open, from the bottom to the top of the dress. You will have a slit at the top of each side - they will become the arm-holes.

Step 6: Starting at the top left, sew down the slit on one side, pivoting around your needle when you reach the seam at the bottom of the slit, then sew up to the top again. (I've sewn about 1/4" from the edge) Repeat for the other slit.

Step 7: Fold down the top 5/8" to make a casing. Pin in place and press. Repeat on the other side.

Step 8: Sew down the casing 1/2" from the top edge. Repeat for the other side.

Step 9: Fold up the hem 5/8" all the way around, pin in place and press. Sew down the hem 1/2" from the bottom edge.

Step 10: Turn dress right side out. Using the bodkin or safety pin, thread elastic through one casing, then through the other, ending on the same side where you started. (I've used ribbon to demonstrate, as it was easier to see).

Step 11: Cinch the elastic around the neck-opening, until it's the right size to fit around the neck of the toy, but loose enough to stretch over the head. It will help to have a finished toy handy. Tie a tight square knot. Cut the elastic ends about 1/4" long, then tug on the elastic until the knot is hidden in the casing.

Step 12: Dress your toy.


Wednesday, May 5, 2010

bit of this and that

That was a long and not really intentional blog break! Mr. Mitten had 2 weeks off from work to help out with a bunch of projects we needed to do around the house. I was so busy helping him, and running around after Lev, I didn't even get on the computer most days. Added to that was an injury to my wrist which kept me away from knitting for more than a week, so I didn't have much to share with you in that way. It's feeling a bit better now, but I'm taking it slow because I really, really don't want to get tendinitis. That would be a quick end to my career as a knitting designer!

In good news, my garden is growing well, I got some sewing projects done, and I've spent lots of time just playing with Lev. He loves the outside as much as I did as a kid, so it's going to be a fun summer!

These tulips are called "Apricot Beauty" and the colour has been stunning and so much more than I expected. They started out pale apricot (like in the photo), and have deepened to dark orange with dark pink mid-ribs. They are also giant tulips, so the flowers are waist high, and longer than my hands!

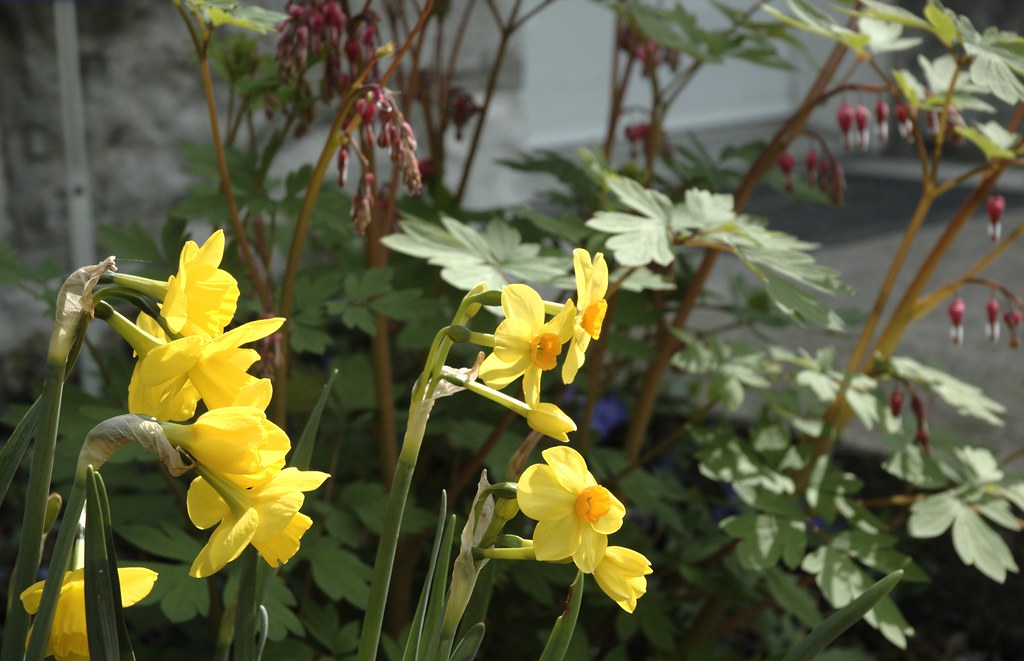
The jonquils I planted for a bit more colour, and their delicious scent. I'm glad I planted them just outside our living-room window.

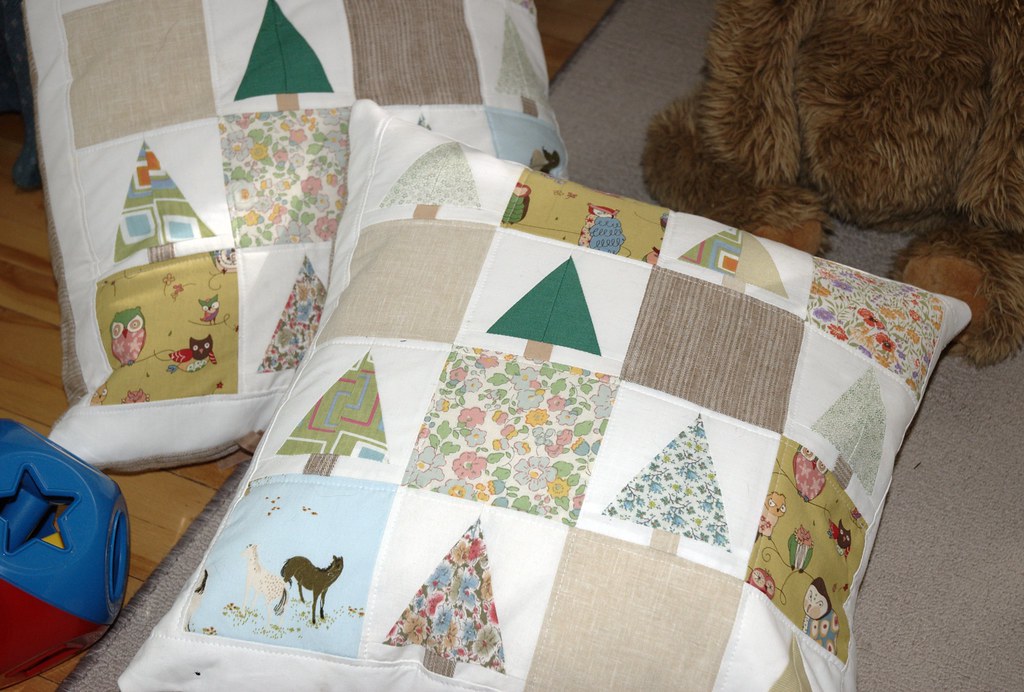
One of the sewing projects I completed was a set of quilted cushion covers. The little tree squares are made from this tutorial (no mods), and I found them quite easy to put together, and very satisfying! I've only done a tiny bit of quilting before, even though I've been sewing garments since I was a kid. This was a great project to learn more about piecing something more complex than squares and rectangles.

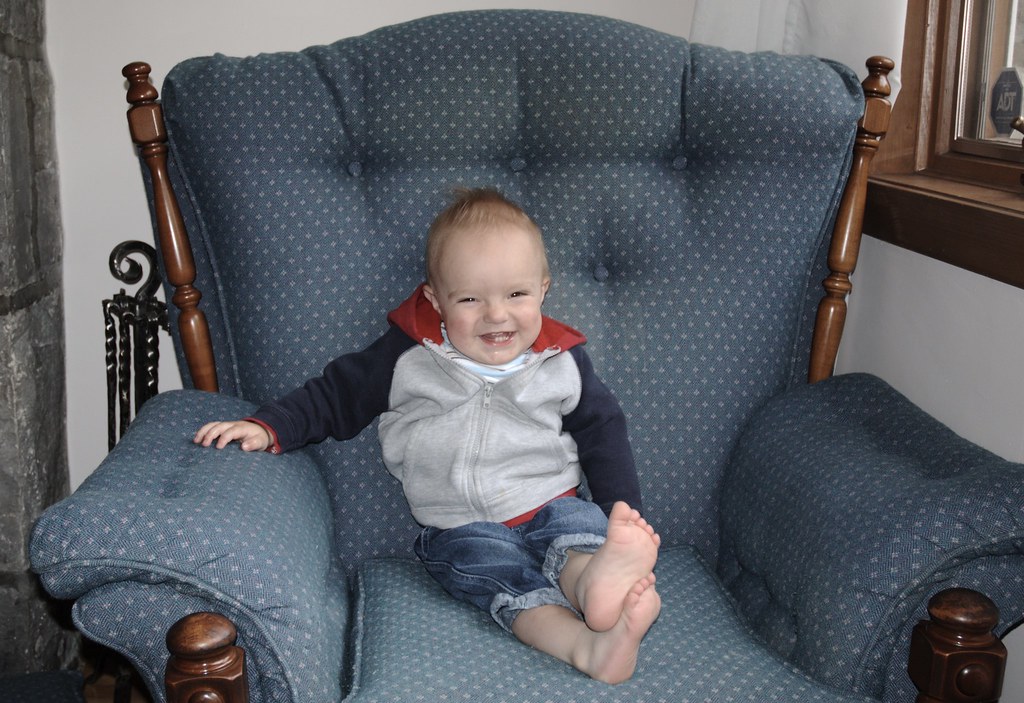
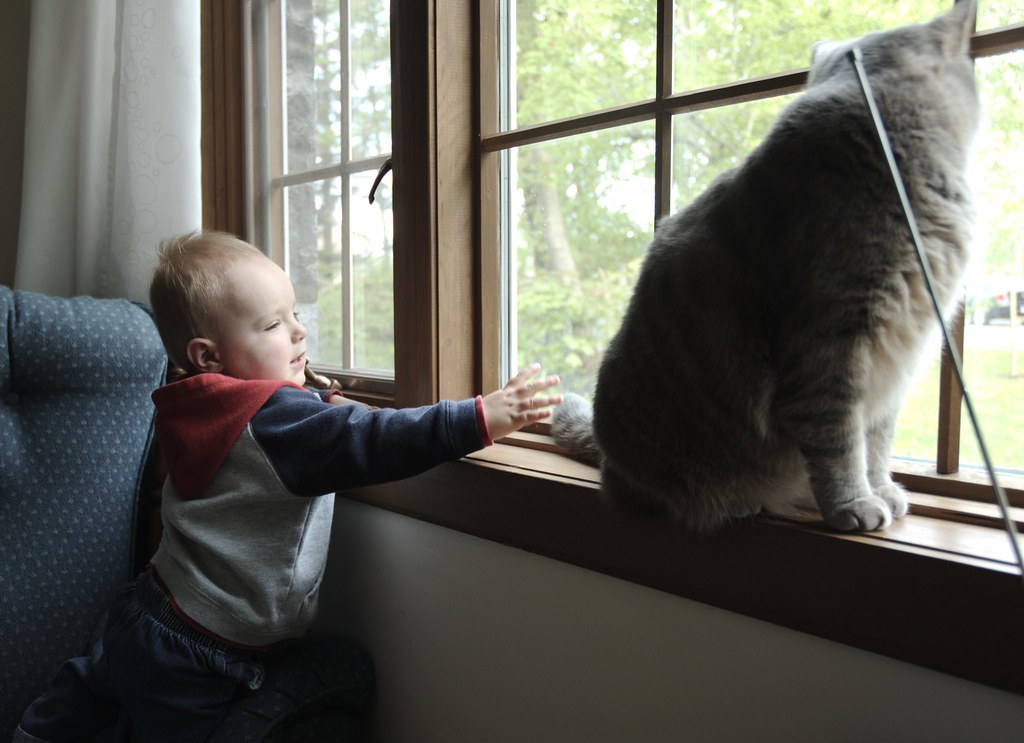
And here's a couple pictures of my little cutie. Although, he's really getting quite big! He's into full-on toddlerhood now, running everywhere, climbing everything (or trying to), and getting into everything! He's slowly picking up more words and concepts, but I'm trying to enjoy this stage, as I know once the talking starts, it won't stop until he's a teen.

His personality is definitely developing as well, with a bit of Mama and Dada, and lots of himself. He's goofy and playful, friendly and easygoing, but also serious and thoughtful when he's trying to learn something.

Saturday, May 23, 2009

never get anything done

conversation I had with Mr. Mitten the other day
Me: One part of me wants to keep working on my sock, so I can finish it sooner and start on my new birthday sock yarn. Another part of me wants to knit some toys for my shop, because I haven't done any in ages. Another part of me wants to go do some sewing on my new sewing machine. Another part...

Mr. Mitten: How many parts do you have? (laughing)

Me: Too many, that's why I'm always so conflicted and never finish anything!

I can't remember what I actually did at that point, but it probably involved getting Baby Mitten up from his nap and feeding him. This is the main reason I never get anything done these days! On the other hand, he's learning something new nearly every day, I have so much fun to spending time with him. Yesterday he discovered he can grab his feet and roll around on the floor. He thinks it's so fun, he tries to grab his feet even while falling asleep in his crib. Anyway, here's a cute video to amuse you (please ignore the messy unwashed hair, I am a mom. Focus on the giggling baby).

Friday, October 10, 2008

time to get sewing

My brother-in-law is working from home today, so I get a break from babysitting! Although, I've really enjoyed being around other people during the day, and my niece is a very good baby (when she's not teething). I even manage to get a reasonable amount of work done most days. Well, maybe not yesterday - I spent the morning making mincemeat and the afternoon finishing a toy for my niece's first birthday. I have to take some photos of the toy before I give it to her this weekend, because it turned out extra cute!

So, today I'll finally have time to sew the bags for the next set of kits. It will be nice to sit down in front of the sewing machine after just knitting for so many weeks. Hmmm, I just realized I'll have to cut the fabric on my kitchen table, rather than my sewing room floor as usual. Bending is not much of an option now with the size my belly is getting! I probably won't get time to dye the yarn and take photos for another week or two, though, so the kits will be ready closer to the end of the month.

Oh, and we also got the computer back, so hopefully there will soon be some photos of our trip to share! Thank goodness getting a new hard-drive was only a minor problem, unlike for some people - we've known it was going to die for quite some time, so we did back-ups every other day or so. Yay for no lost data!

Oh, and for those who were confused about the mysterious photos comment, I meant the photos of the owl and baby, the squirrel, and polar bear. The bat will also be in the new book, but I'll wait to share the rest until I get photos of them. I can hardly wait, though, since I'm super pleased with how they turned out!

P.S. I tried writing this in open office, then copying it here. Let's just say it didn't work as planned, and I'm tired of messing with it so there are no links or photos.

Friday, June 20, 2008

oh yeah, that knitting thing

Yesterday was a great day! I felt better than I had in weeks, and even managed to get something useful done. A good friend of mine had given me two pieces of Amy Butler fabric for my birthday, and I finally had a good idea what to make with it. I wanted a new bag, something versatile that could hold my water bottle plus knitting or a warm sweater. What I came up with is a square bag, 12"x12x3, with a zipper across the top and lots of pockets, inside and out. I'm planning to add some removable handles, so it can be a backpack or purse, but I need some help with measuring before I can make those. I'll try to get some good photos when it's done.

However, all this being tired and sick lately has been hard on my other hobbies. Yeah, that knitting thing, not so much of that going on lately. I have lots of lovely yarn sitting around, and at least 2 toys in various stages of being done, but I just haven't felt like knitting. It probably doesn't help that I have only one commission on the go, with a September deadline. Even my own projects aren't getting much attention. Socks seem too slow, and I'm getting worried that I won't have enough yarn to finish a sweater I started a while back. It's knit from Malabrigo, so there's little hope of getting more that will look at all the same. I'm thinking of frogging it and using the lovely soft yarn for something else, maybe a shawl to wrap around me this fall.

Anyway, here's a cute photo that should help anyone not feeling like knitting. When there's hugs like that around, how can you not find a reason to knit something cuddly?

Wednesday, April 30, 2008

catching up

I had a wonderfully relaxing break, staying out at my sister's place. I've been home for a week now, and trying to catch up on email, blogs, and projects. Now I'm finally ready for a nice long chat with you!

First off, if any of you want to get your hands on one of my toys, a bunch of them will soon be for sale at Quiet Hours Toys. I'm told they will be listed tonight, or maybe early tomorrow. These will probably be the only toys of mine available for sale for a while, because everything I'm making right now is intended for a craft fair this summer. And I must say, Carey was wonderful to work with. Even when the parcel of toys went astray in the post, she didn't get upset! (unlike me, who freaked out) But these guys made it to her at last, and I'm sure she will find good homes for all of them.


I made these cushion covers last saturday. We'd finally bought ourselves a new sofa, having come to the end of our patience with the nasty old one that was here when we moved in. These are the same fabrics I used to make my wall-hanging, with a more abstract design. It took longer to cut out all the pieces than to sew them together, but I find the process relaxing. Once they were done, I realized the whole effect is a little busy. I should probably have used half the fabrics for one, and half for the other. They're growing on me, though, probably just through the combination of soft pretty fabrics, squishy feather pillows, and comfy new couch.


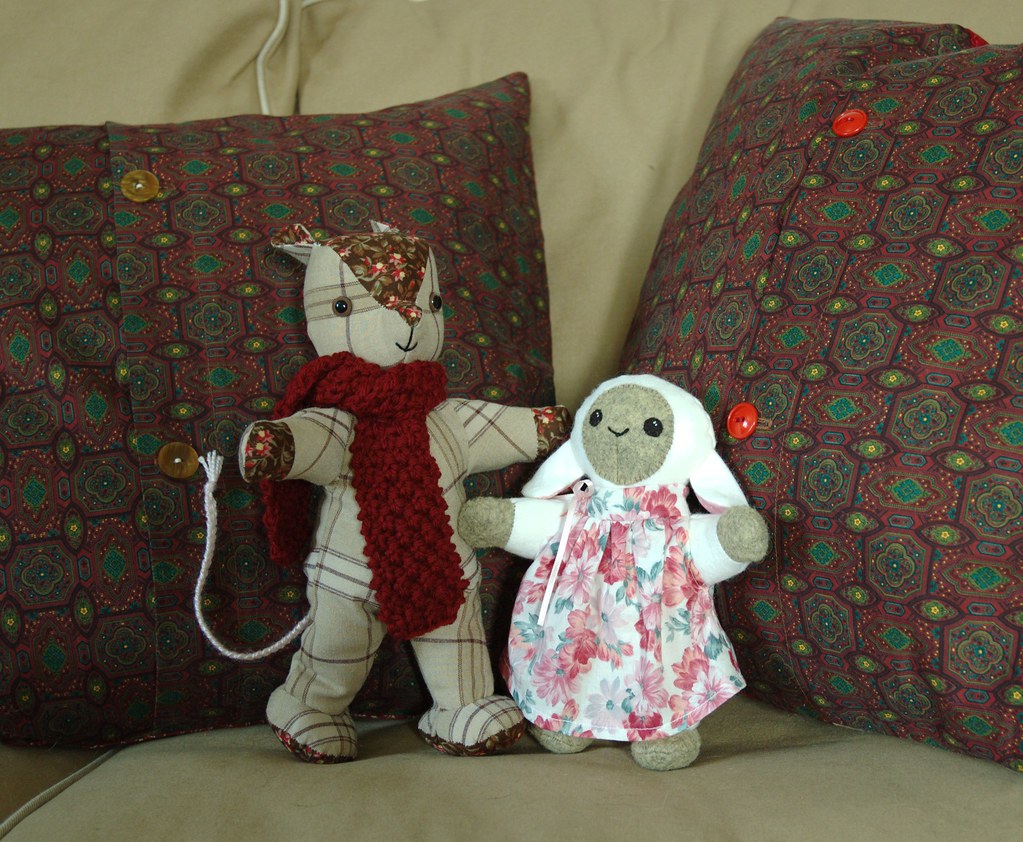
I've also been trying out some fabric toys. My first try was left with my niece to chew on, so I have no photos of it. It was made straight from a pattern, just so I could learn how the pieces fit together. These two were adapted from a different pattern, and have quite a different body from the first. I love how the lamb's face looks like my knitted toys, and their bodies are very squishy and cuddly. Sewing with wool felt is a pain, though, so I might not use it very much. I really dislike the feet on these guys, and definitely won't be using that style for my final pattern. I think once I've made a couple more, I should have all my ideas in place to design my own. All this sewing has been a nice break from knitting, as my left wrist has been really bothering me lately. Hopefully it settles down soon, so I can make more toys for an upcoming craft fair.


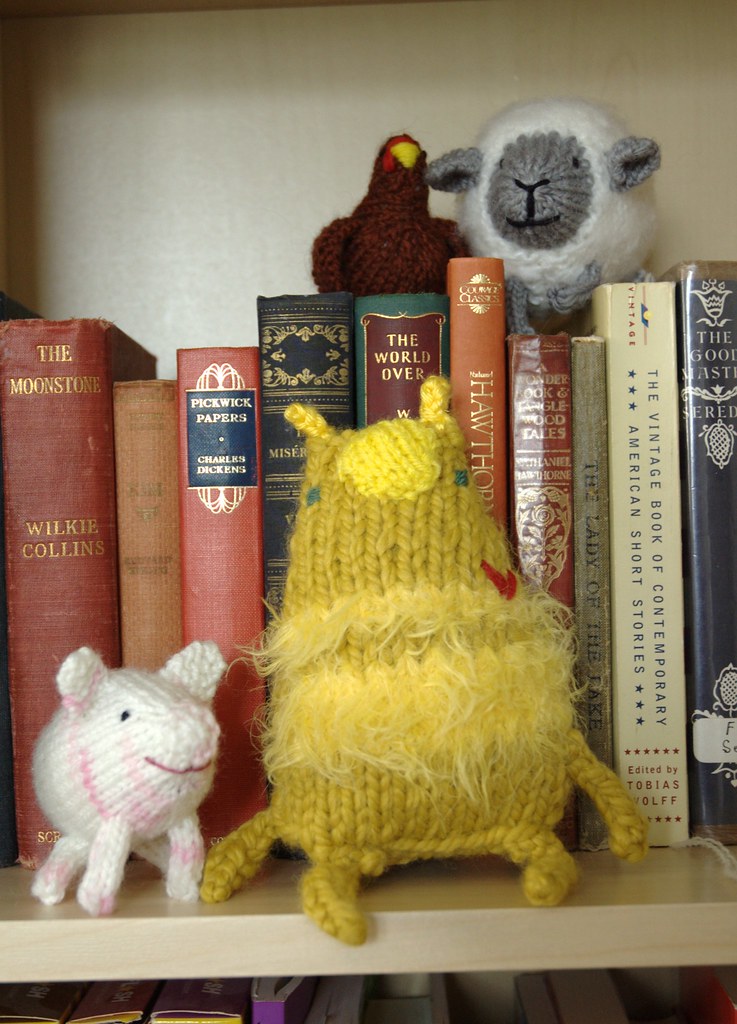
Finally, this little critter came in the mail today! The favourite colour swap over at the needle.org finished the other day, and I was hoping mine would come soon! What a surprise I got when the doorbell rang during lunch, and found out my swap came from Greenstars Studio. I've decided to call him Dandilion, and he's already made some friends here. I should ask his creator what the fuzzy yellow yarn is, because it's awesome - soft and silky like down. I think I must do more swaps, because this one was so much fun!

Thursday, April 10, 2008

hint#7

To quote my husband,"let's get back to fun toys and happy occasions." Don't you agree?

Here's another little tutorial, this time on how to sew on a toy's head, or as I think of it: capitation (as in the opposite of decapitation :)

I use a sewing stitch called ladder stitch, which is shown in the diagram below.
Ladder stitch: dotted lines show where yarn is going behind fabric. When doing this yourself, you would pull the stitches tight enough for the fabric edges to meet.

Head and body stuffed and ready to go.

Pin on the head so it stays straight, matching up the back seams (drawn in black).
I would usually use those yarn ends from sewing up the body to sew on the head, but I've used white yarn here to make it clearer what I'm doing.

Starting at the back seam, sew the top edge of the body to the head where they meet. I have left the stitches loose so they are easier to see, but you will want to tighten them up so the head is sewn on securely.

Here you can see the head half attached. Compare the white stitches to the diagram above if you're not clear on how I'm making the stitches.

Head sewn on all the way.
If the toy is for a young child, I will usually go around a second time.

To tidy up the yarn ends, insert the needle a few inches through the body, making sure to exit at a hole in the knit fabric, and pull yarn through.

Insert the needle back into body exactly where the yarn exited, and pull yarn through until loop disappears beneath the knitted fabric.

Snip off yarn close to the body, and pull gently at the fabric until the yarn end slips inside and cannot be seen. This method will secure your yarn ends without having to use knots. Repeat for other yarn end.

Here you can see the head sewn on with matching yarn. With patience and practice, you can barely see the stitches that hold the head to the body.

I hope this was helpful! If the pictures aren't clear enough, check the larger sizes on Maybe with some more help I can get other tutorials made. It's a little tricky with just me trying to arrange things and take photos!

Tuesday, March 25, 2008

long weekend

I had a delightful, lazy weekend with my sweetie. We didn't celebrate Easter, but managed to fit in a bunny, some chocolate ice cream, and things made with eggs, so I think we did okay. And, I have photos to document some of the best parts!

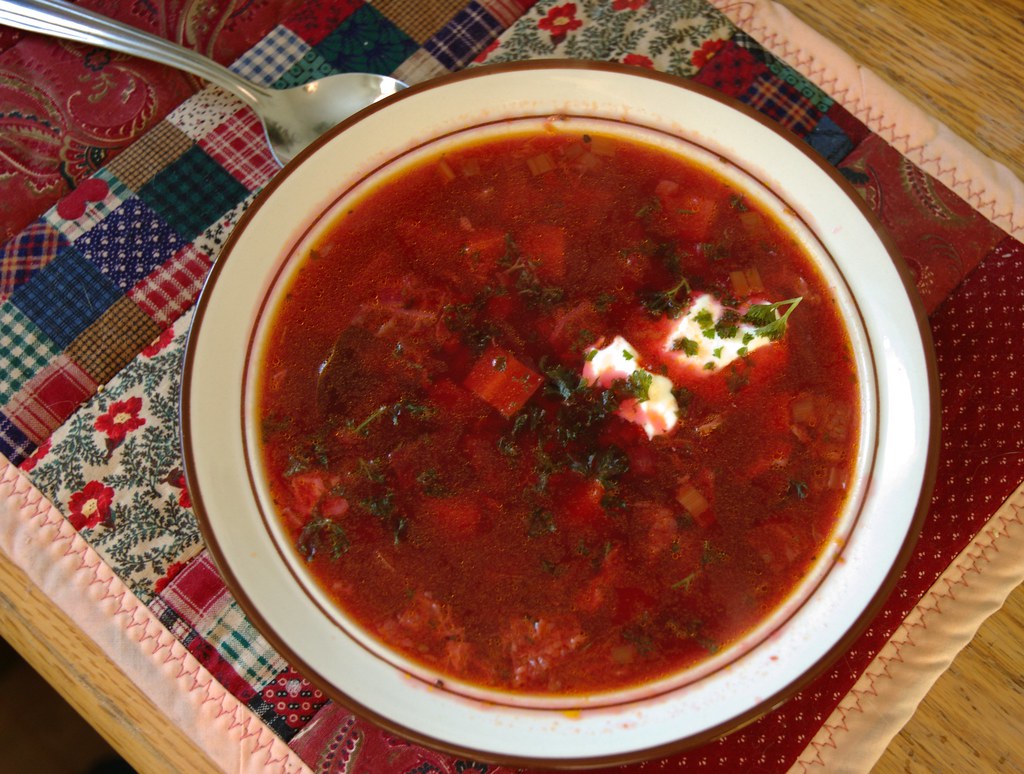
Before the weekend got started, I made a big batch of borscht. It does look nice in photos, being such a lovely red colour. I'm not posting the recipe, because borscht is one of those dishes that is made differently in every family, and I make it differently nearly every time, so just find a recipe that sounds good to you and go for it. Just because the main ingredients are beets, cabbage, and potatoes, doesn't mean it has to taste like bland and over-cooked peasant food.


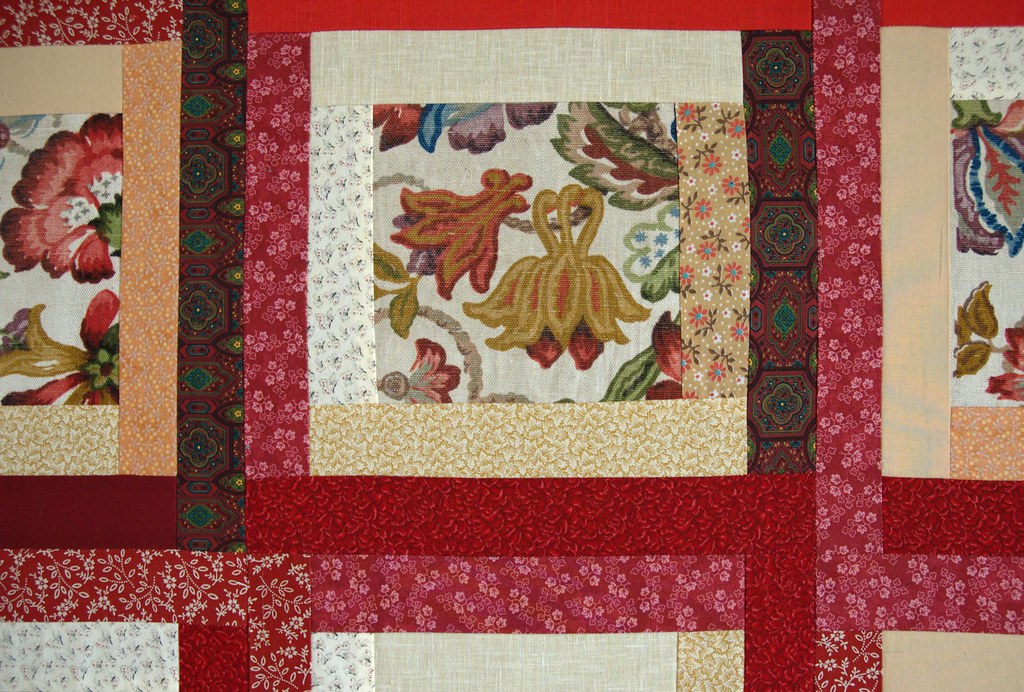
On friday, I decided to take a break from work and do some sewing. I've been planning this quilt for our living room wall for ages, and finally had all the necessary bits, and time to make it.


I spent saturday putting together some toys I had knit over the past week or so. I had already made a super bunny names Clark, so this one was dubbed 'Wonder Bun.'


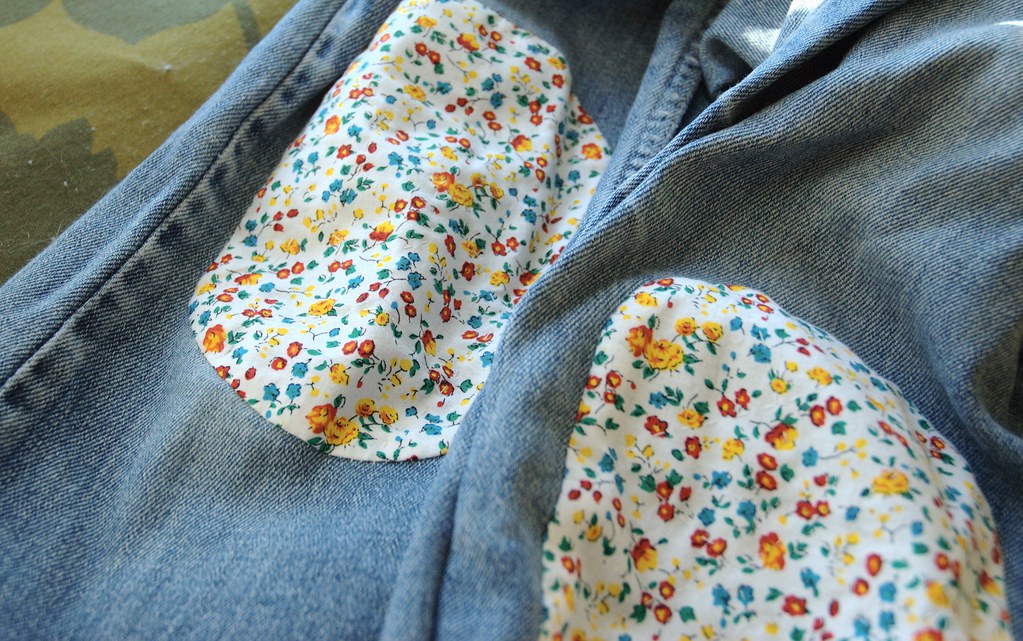
On sunday, I spent some time mending clothes. My most comfy pair of jeans got patches to cover up the holes in the knees, but I had to concede that my most favourite red angora sweater is on it's way out. No amount of darning will fix all the holes and thin patches. I think it may have to gain a new life as some kind of plushie...


Yesterday, we went for a long walk in the sunshine. Although we took the camera, the huge snow banks were too depressing for us to bother taking photos. Instead, I will show you a peak of the April feature pattern I'm working on.


And in case you thought I was busy and industrious all weekend, we did watch some Lord of the Rings, 5 episodes of Red Dwarf, eat nachos for supper, and drink some very nice beer.

Friday, February 29, 2008

march feature pattern


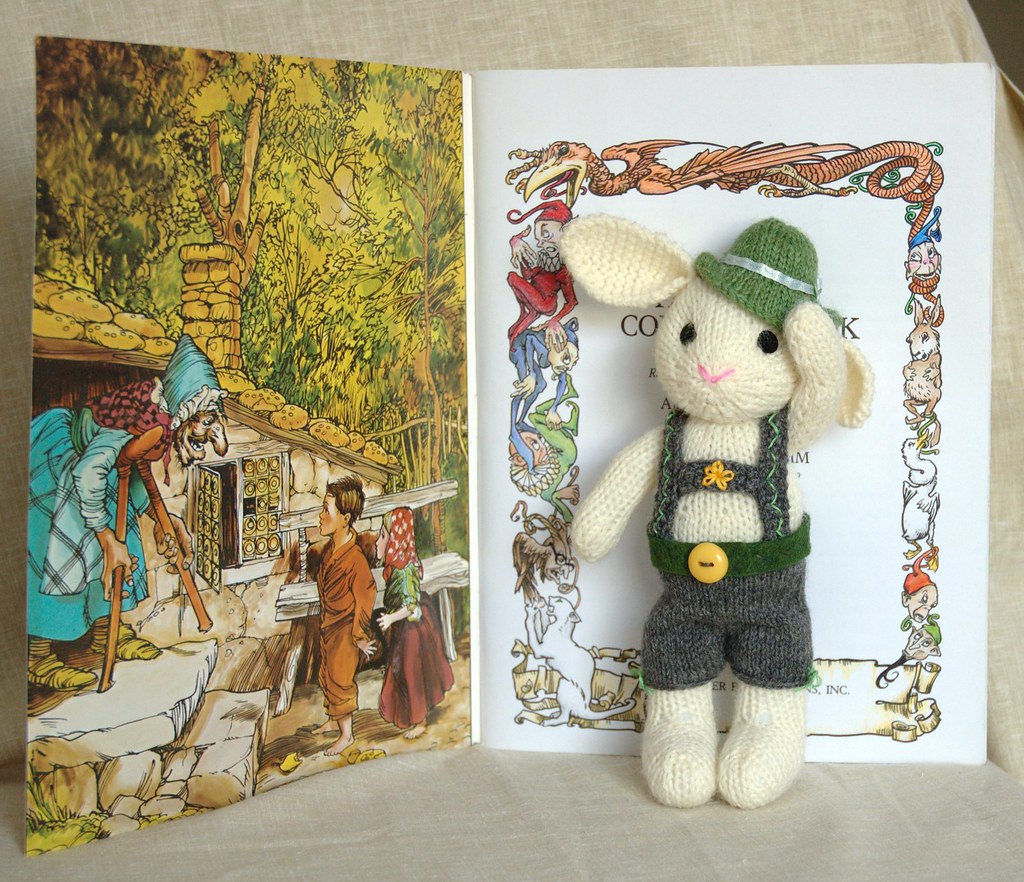
I did say the Gretel dress was a hint for this pattern, right? Well, I didn't end up calling it Hansel's shorts or something similar (because that was a bit too silly), but that is where the inspiration came from. The lederhosen are really very simple, and meant to be decorated with embroidery. If you're not so good at embroidery, you can add a belt made from felt with a button belt-buckle. The hat took me a while to figure out, but I really like the results. You need to block it to get the shape right, so you'll need to knit it from wool or something that will block really well. Altogether, I think it's a fun pattern, and I bet kids would get a kick out of playing dress-up with this outfit. Too bad there are none around here to try my patterns out on!

It seems that the kits I put together are popular! I sold 2 already, and hopefully the rest will go while there's still time for them to arrive before Easter. The Fuzzy Knits kits will be available at the end of March, but I'll let you know when I'm ready to list those. I forgot to mention yesterday that the pin cushions are on sale. I've decided to limit my inventory to patterns, toys and kits, since I've had trouble selling my other items. From now on any items I sew will be just for kits. It's too bad really, because the other things are fun to make. But I suppose I can still sew things for myself and my friends.

I think that's all the exciting news I have for today. I think I'll take the rest of the afternoon off and knit something for myself. I started a scarf yesterday from some pretty sock yarn I had lying around. It makes me think of Spring and flowers, and I can't wait for it to be warm enough for me to wear it with my pretty pink jacket.