Thursday, July 18, 2013

sewing for my boys

I remember, when I was quite little, wearing clothes my Mom had made for me. I'm not sure how she found the time, with four of us so close in age. (She also knit us sweaters and things. I think she didn't sleep much when I was small). Those hand-made things were always a little more special, although I think they were worn by too many cousins to last until my boys were born.

I also made things for my boys when they were babies. Rompers, sweaters, hats, mittens, and scarves. I don't remember if I shared many of those projects. I don't even know if I have photos of some of them. Anyway, at that age, you can't really tell if they prefer the things you make for them. But now, my boys are old enough to ask for things, and tell me how much they love them!


The shirts in these photos are made from  McCall's M6540. I haven't seen many sewing patterns for boys, and most are pretty basic, or overly fussy. I really liked how this pattern had a simple shirt with a yoke but no collar, and pockets (which are necessary for my kids). And the shorts are super cute (I have a pair cut out of corduroy for Lev, just waiting for some cooler weather for me to sew them up). The dress patterns in this set are nice too, and you certainly don't need to add all those ruffles. A friend of mine, just learning to sew, made one without any trouble.


I decided to make the yoke and pockets of each shirt from some quilting cotton: orange for Lev (his favourite colour), and some pirate ships for Kyr. I faced the yokes with plain white cotton. The other fabric is a nice cotton/linen blend that I used to make a shirt for their Dad. These shirts came together very quickly, maybe 4-5 hours, including cutting out (I'm not really sure, since they were both made over a few days). In the pattern, the pockets are on the chest, with flaps, which didn't seem practical. So I moved them to the lower front, and left off the flaps. As you can see, I made them a little big, so they would fit longer. I think they will also be nice over a long-sleeve t-shirt in the winter.


(I've also made them hats like the one from this pattern. It's a great sun hat, fits most head shapes, and you can make one from 2 fat quarters)

I'm not sure how much longer Lev will be happy to wear things I sew, but I'm so happy he loves this shirt. And I'll certainly get a few more years out of Kyr, before I have to go back to sewing just for myself!


Friday, July 5, 2013

multigrain granola

One of my favourite breakfasts, especially in the summer, is granola with plain yogurt and fresh fruit. However, one of the main ingredients of prepared granola is rolled oats, and sadly, oat bran and I do not get along (large-flake oats are the worst, but I can eat a small amount of quick-oats). Luckily, a local natural food store has a wide variety of rolled grains available, so I've been making my own granola for a few years now. What follows is a very general idea of what goes into my granola - every batch is different, depending on what's in my cupboard. But if you find that sort of baking fun, you should be able to make a tasty batch from my directions.

Multigrain Granola


2 cups quick-cooking rolled oats
2 cups rolled grains (I use a mix of wheat, kamut, rye, barley, or quinoa)
2 cups puffed grains (I use rice, millet, or wheat, depending on what I can find)
1 cup raw seeds or chopped nuts (sunflower seeds, pumpkin seeds, peanuts, walnuts, whatever you like)

1/2 cup canola oil
1/2 cup honey or maple syrup
1 tsp cinnamon
1/4 tsp salt

Preheat oven to 250 F. Place oven racks at 1/3 and 2/3 of oven height. Line 2 large cooking sheets with parchment paper.
Mix the grains and seeds/nuts in a large bowl. Place the last 4 ingredients in a small pot, and warm until just bubbling. Pour over the grains, and mix to thoroughly coat everything. Divide the granola between the 2 sheets. Spread into an even layer, and place one sheet on each oven rack, but not overlapping too much (you want good airflow in the oven).
Bake the granola for about an hour, switching the sheets after 30 min. Once the granola feels dry to the touch, increase the oven temperature to 325 F, and toast the granola for another 15 min, or until golden brown (watch it carefully, because it can brown quickly).
Cool the granola on the baking sheets, then store in an airtight container. It should stay fresh for a few weeks, as long as it stays dry.


Friday, June 21, 2013

fruit popsicles

We had a glorious first day of Summer here, much appreciated after a rather cool and rainy Spring. What follows isn't exactly a recipe, but an idea to get you inspired for tasty and healthy Summer treats.

Watermelon Popsicles

You will need some watermelon, a blender or food-processor, and some popsicle moulds. This is especially good to do with over-ripe watermelon that isn't as nice to eat as is.
Slice the watermelon, cut off the white and rind, then cut the watermelon into 1" pieces. Remove any seeds. Put the melon into your blender or food-processor and blend until very smooth. Pour into the moulds, and freeze. Easy as that! Any leftover blended watermelon is nice to drink.

Some other things that make tasty popsicles are unsweetened applesauce mixed half-and-half with unsweetened fruit juices (the applesauce keeps the popsicles from getting too hard for kids to eat easily). You can also freeze most fruit smoothies (although smoothies with yogurt may give you a different texture). You can try blending other soft fruits: first remove skins from fruits like peaches, and you may need to add a little sweetener to tart fruits. As a kid, I loved raspberry popsicles, made from just mashed raspberries with a bit of sugar (and these days you have so many options for alternative natural sweeteners).

I hope you have fun plans for the Summer to come!

Sunday, June 16, 2013

wee dragon

Here is a fun modification of my Wee Woodland Wuzzies pattern: a Wee Dragon! To make this toy, you will need a copy of that pattern *, plus the Dragon and Friends pattern for the wings (or some felt).


Materials
20 g of worsted weight yarn in variegated green (or whatever colour you want your dragon), 15 g of fingering weight yarn in light green (or green felt), 3 and 4 mm (US size 2.5 and 6) knitting needles, polyester stuffing, a pair of 6 mm safety eyes, yarn to embroider the face, tapestry needle, hand-sewing needle and thread (if you make the wings from felt)

Use the worsted weight yarn and 4 mm needles for the Body, Head, and Tail.

Body
Work the body from the Wee Wuzzy pattern with the following mods:
After Row 10, work 5 rows of st st, instead of 3 rows.
After Row 14 (second set of bobbles), work 5 rows of st st, instead of 3 rows.

Head
Work the head from the Wee Wuzzy Mouse, ignoring the colour changes. Alternatively, work one of the other animal heads, if you would like your dragon to have a shorter or longer nose.

Tail
Work the tail from the Wee Wuzzy Otter, adding 3 more rows of st st after row 16.

Stuff and assemble the toy as written in the Wee Wuzzy pattern. Embroider a mouth, nose, and some teeth on the dragon's face. You can also add extra details like claws and eyebrows.

Wings
Using the fingering weight yarn and 3 mm needles, make the wings from the Dragon pattern. Alternatively, cut 2 wings from felt, and sew them onto your dragon's back with the hand-sewing needle and thread.

I also used my questionable crochet skills to add this little ridge down the back (sorry I can't elaborate, I just mess around with a hook and yarn until it looks about right).
Bye-bye wee dragon!

*If you don't have both patterns, and would rather buy the Dragon pattern, you could use my free Holiday Mice pattern for the body and head, and improvise a tail - start with 15 sts, and gradually decrease to 5, over about 20 rows.

P.S. I'm going to start adding the "patternmods" label to the posts which fit under that category, so they're easier to find. But they will all still have the "tutorial" label as well, if you are used to finding them that way.

happy father's day

To our most excellent Daddy, and my own father, and all the other dads out there, I hope you have a fun day full of the people you love most. Thank you so much for being part of our lives, with your charm, humour, kindness, and strength, and all the ways you share them with us.

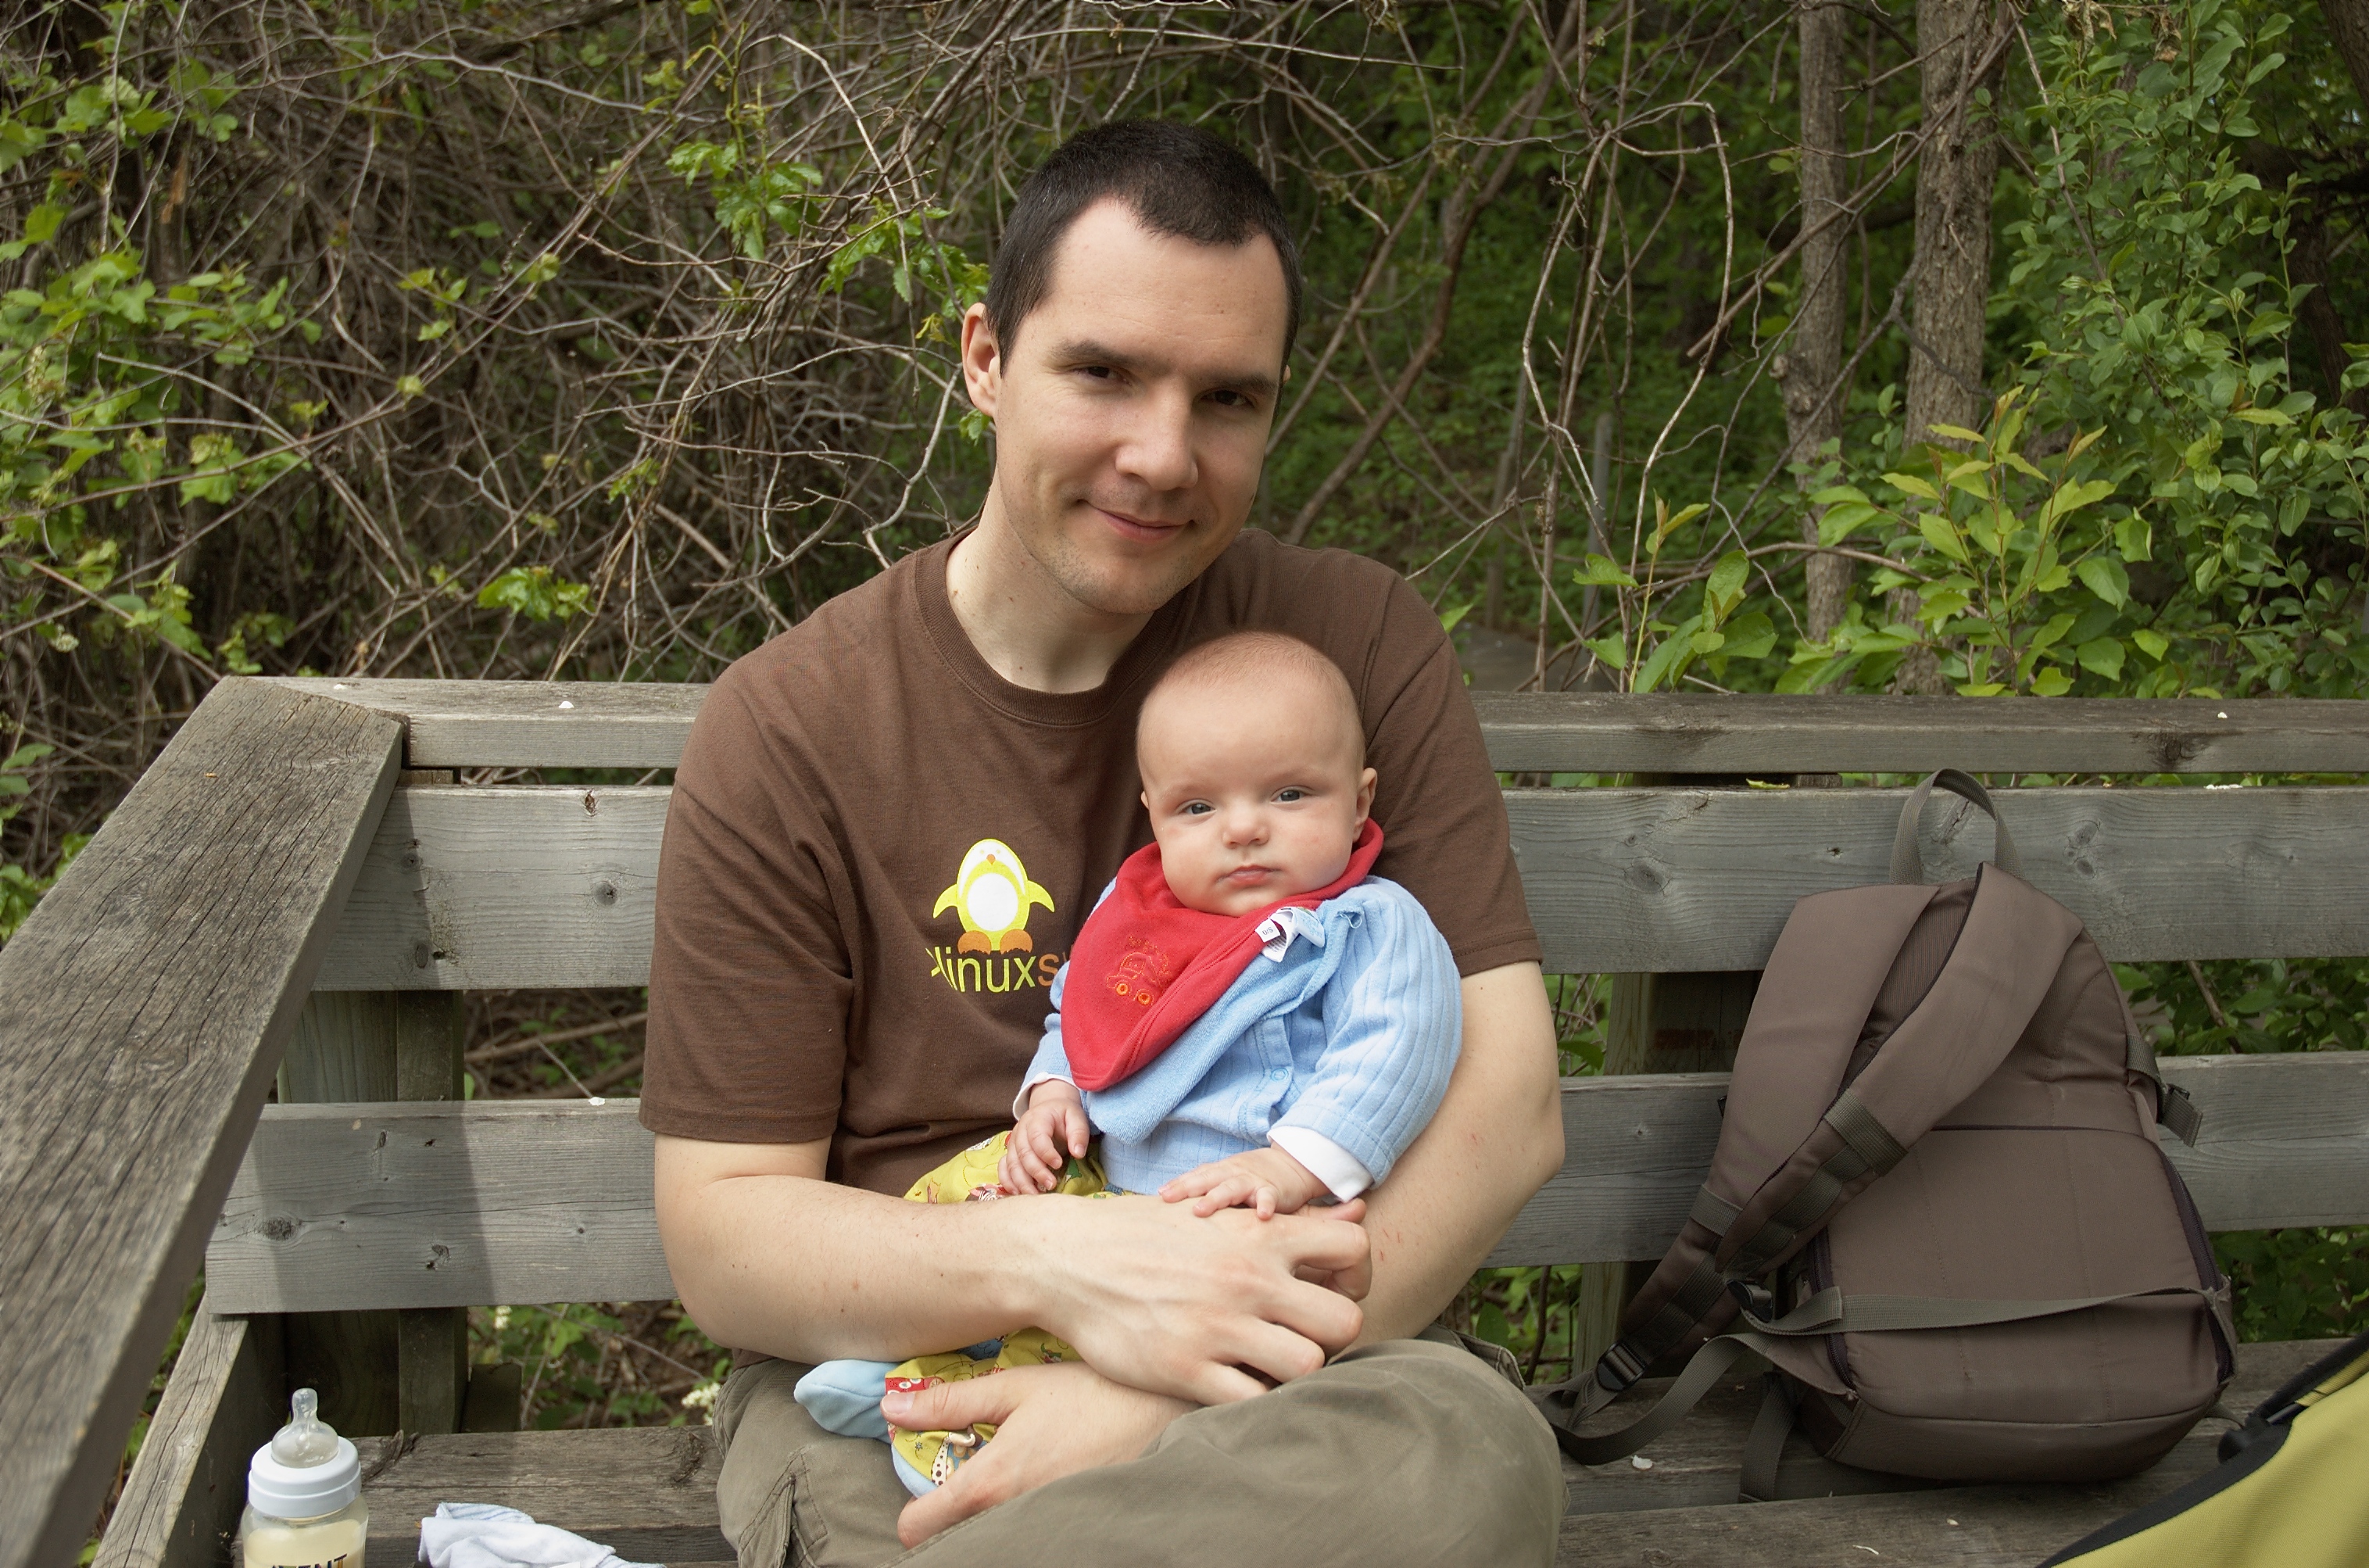
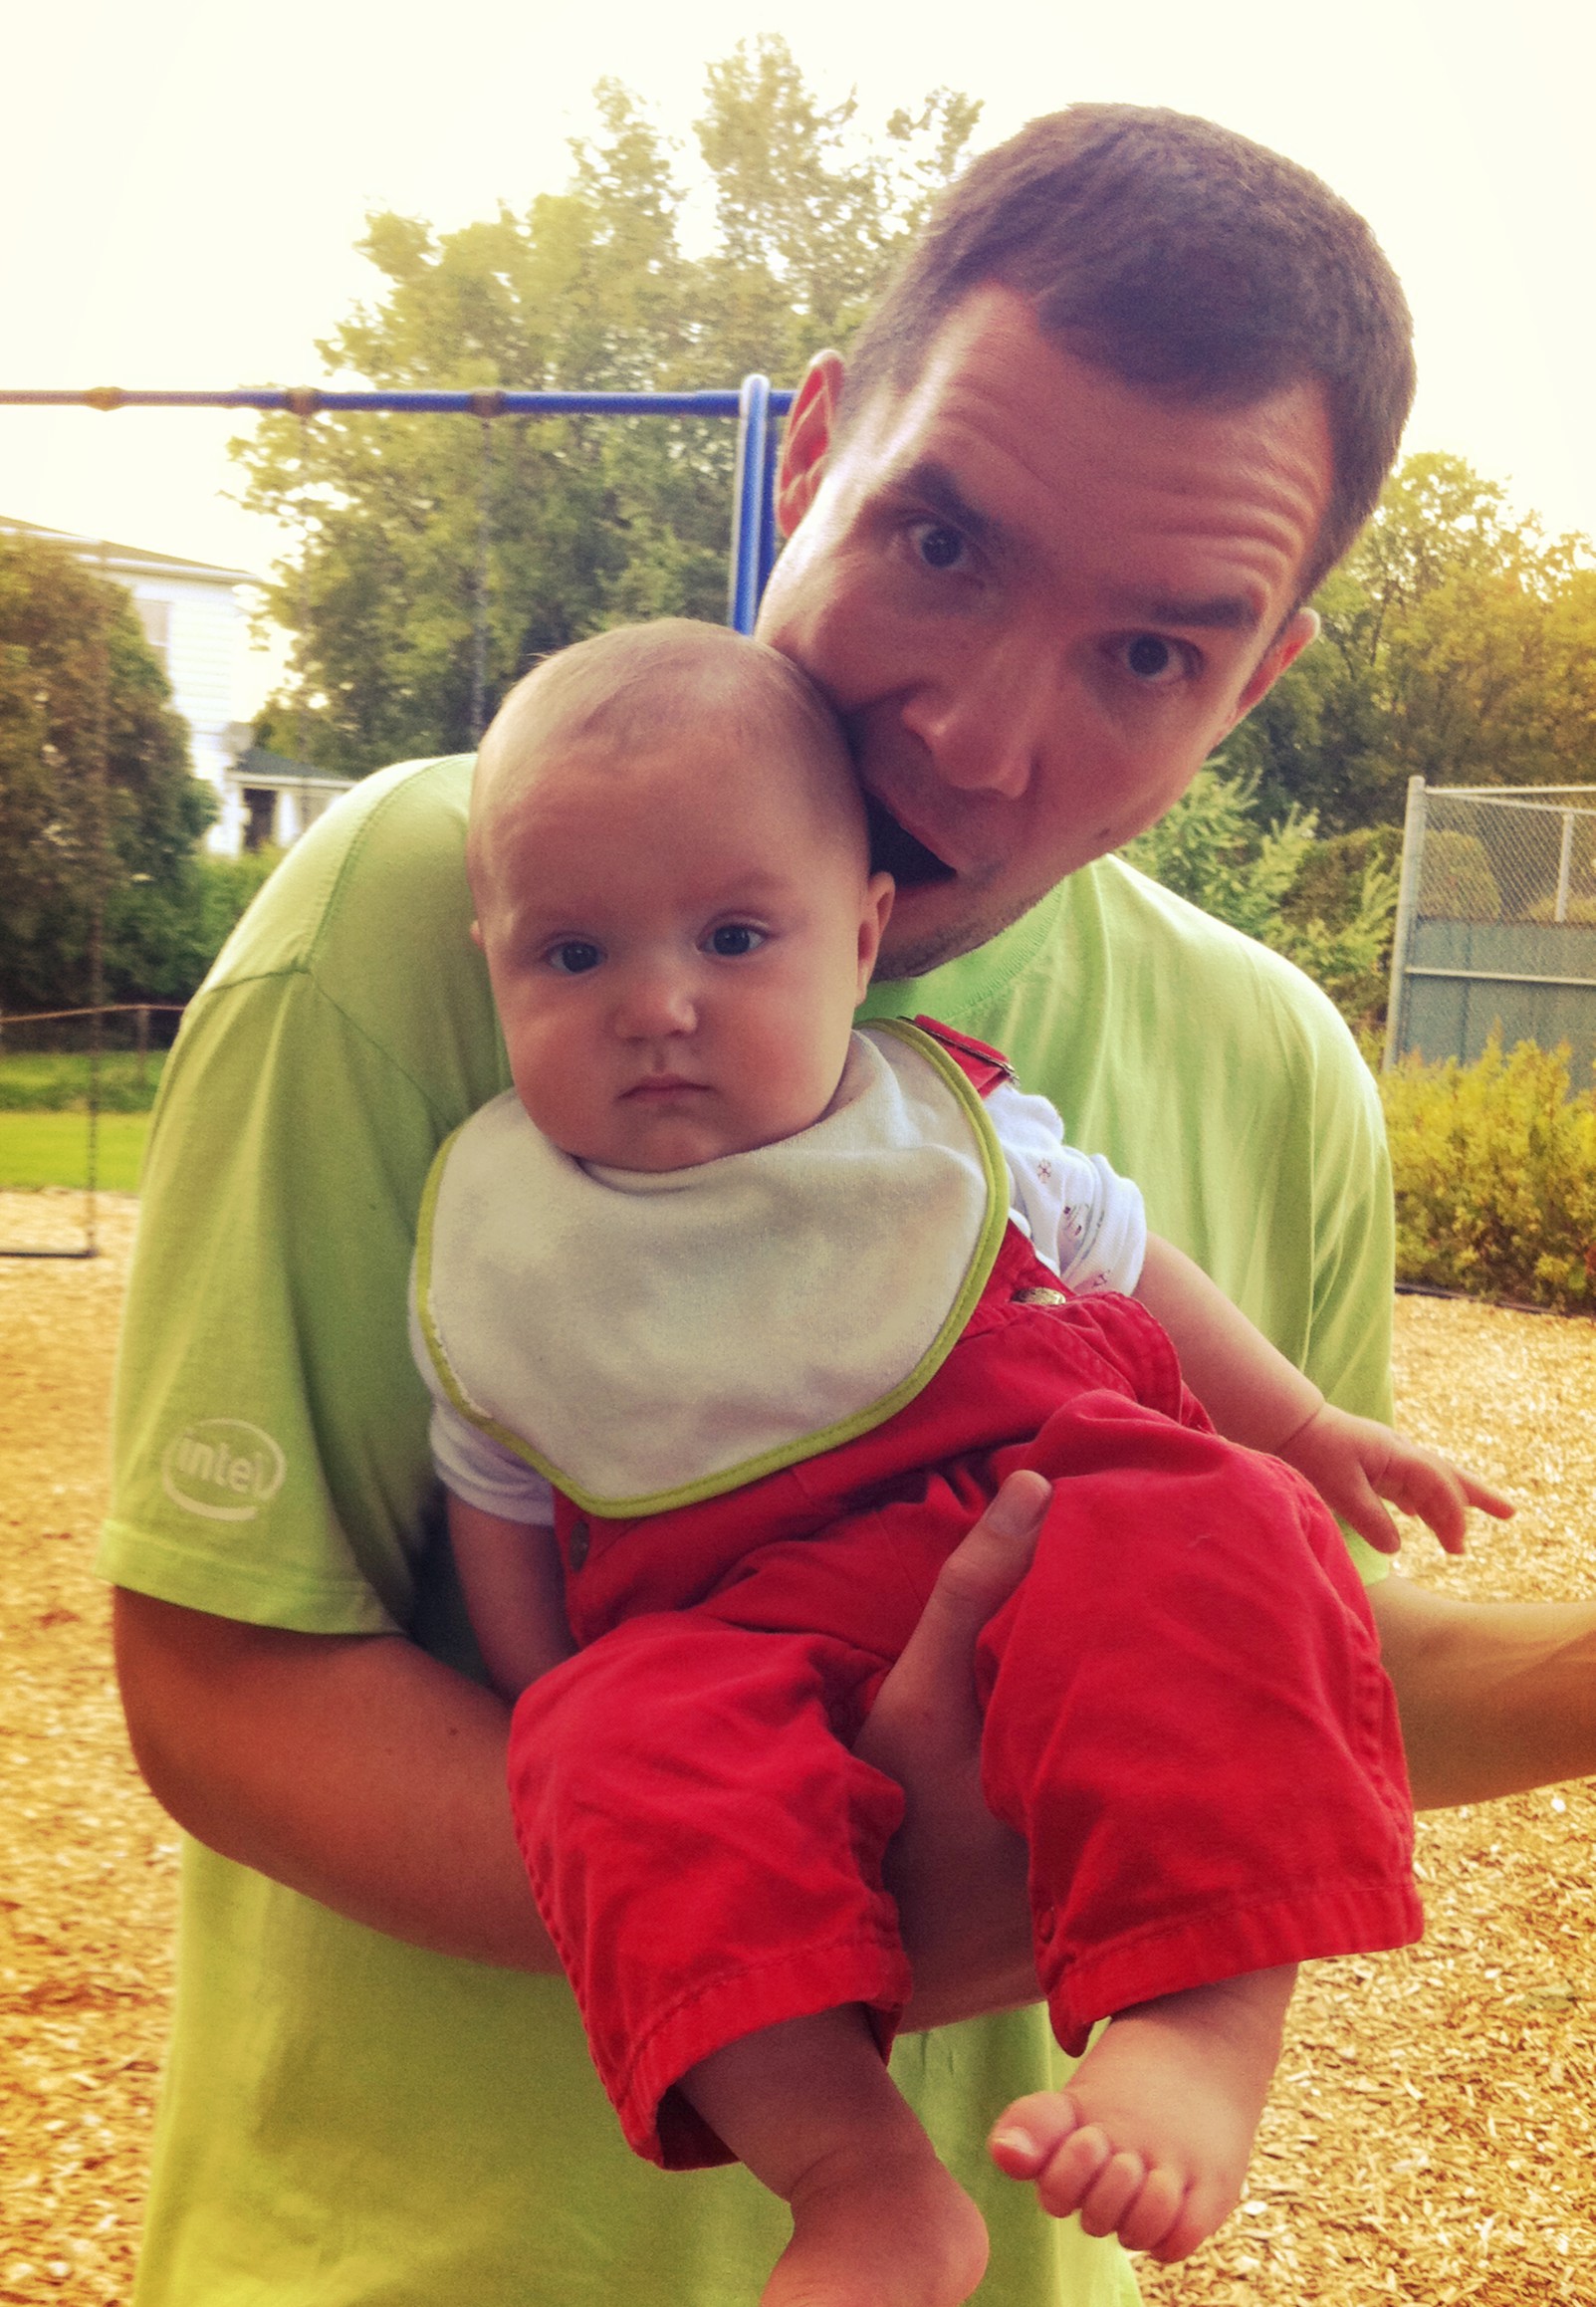
Lev and Daddy (Lev is about 5 months old here)

Kyr and Daddy (when Kyr was about 6 months old)

My Dad, showing off one of his favourite hobbies (although he has a different bike now)

Tuesday, May 28, 2013

quiet usually means busy


While it's been rather quiet here on my blog, I've been quite busy with my knitting needles. Two very exciting opportunities came my way about a month ago, and I said yes to both of them! This means I'm having loads of fun, working much harder than I'm used to, and making very cute things I can't share with you yet.


Over the past few weeks I've been too caught up to have much chance to write to you, but hopefully I will have a little more time next month. However, since I can't share my current knitting, maybe you'd like to hear about some of the other things I do? I sew as much as I can find time for, usually clothes for myself and other family members, sometimes little things to brighten up my home. I also adore gardening, and my gardens are coming along nicely this year. I also enjoy cooking, and I've shared some recipes in the past. Maybe I will post a few of the dishes my family likes best right now. I hope you'll enjoy reading about all of these things.


Sadly, I've had to put on hold the pattern I'd planned for early summer release, but there are some other things for you to look forward to. I plan to update one of my most-loved patterns for a September release, and that I can definitely share with you. I've also been thinking about reorganizing and expanding the clothing bundles I sell. Would many of you be interested in that?


Until then, I hope you continue to stop by, and I'll talk to you soon!


(P.S. The photos are from a recent trip to Vermont, for my birthday)

Sunday, May 12, 2013

happy Mother's Day

To those of you who are mothers, I hope you have a special day with those you love. Here are my two little boys, whom I adore. I don't feel that time goes by faster than I would like, but I am sometimes surprised by how big they are! I also feel like I don't know them as well as I would like, but here's a few things I do know...

Lev is four and a half now. He loves playing with balls and frisbees, and wants to learn how to play basketball. He also loves to tell jokes, even when he's not quite sure how they work. He can count to 100 (with a little help), and is just beginning to learn how to read. He'd much rather paint than draw. He loves to help me in the garden, and understands quite a lot when I describe how plants work. He knows how to be a good big brother, but finds it difficult sometimes. However, every night he kisses and hugs Kyr, and says, "I love you, baby!"

Kyr is a little more than two now. He loves to help me in the kitchen, preparing food or washing dishes. He's just beginning to learn the alphabet, but he can recognize his name and Lev's. His favourite stories are about Winnie-the-Pooh. He enjoys watching the trains from our front window, and tries to name the colours of the train cars. His interactions with other people are always on his terms, especially with his big brother (although I wish they weren't quite so rough sometimes). While he is often shy around new people, once he's comfortable, he's sweet and friendly, and says and does the funniest things.